


So you’ve got a PowerShell script and now you need to run it at particular times, how exactly do you do that?
Enter Microsoft’s handy tool – Task Scheduler.
Note: You should always make sure that the script is 100% ready to go and has been tested in a test environment before you run it on a production server.
- First, I recommend placing the script in a folder somewhere on the local drive of the machine. For this example we’ll use C:\Scripts
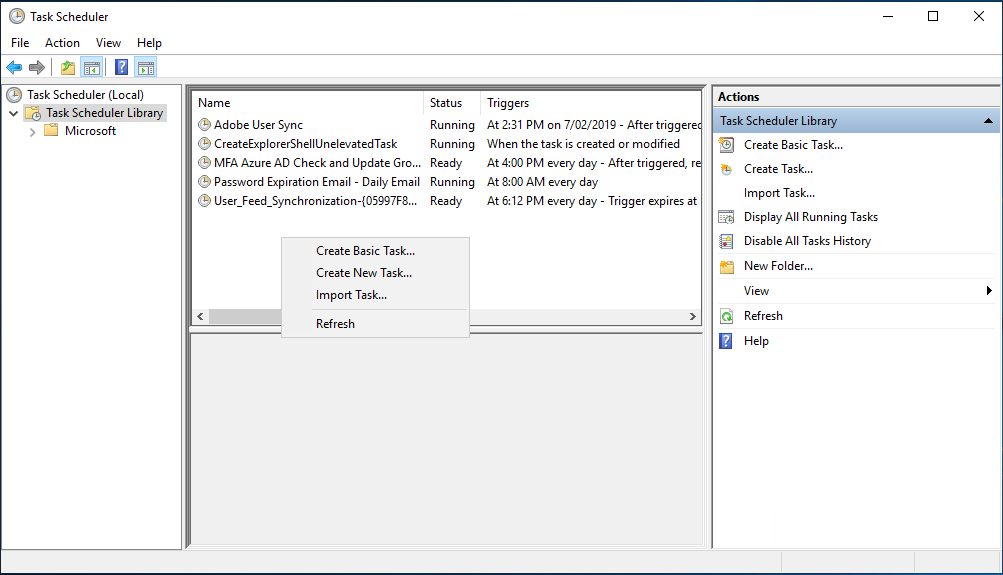
- Open Microsoft Task Scheduler, select the ‘Task Scheduler Library’ from the left hand pane, then right click in an empty space and select ‘Create Basic Task’

- Give the task a name and enter a description

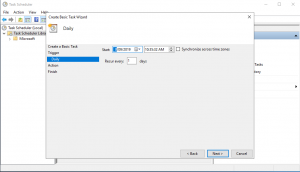
- Select how often you would like the task to run

- Then select the starting time and date for the task as well as when it should recur
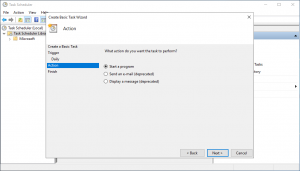
- Select what you want the task to do, in this case we’ll select ‘Start a program’
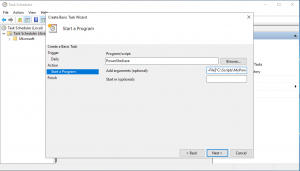
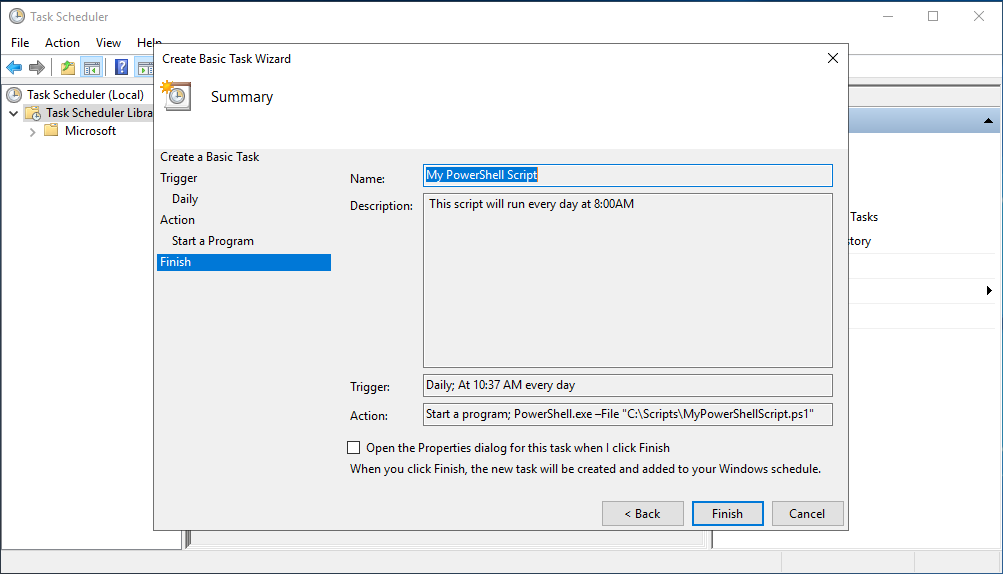
- Enter ‘PowerShell.exe’ for the Program/Script. Under arguments enter this: -File “path to your script” so in this example: -File “C:\Scripts\MyPowerShellScript.ps1”
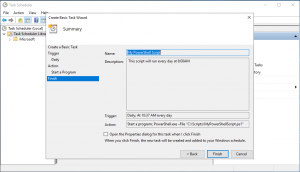
- On the final page you can review your task and then select ‘Finish’
- Now if you’d like to manually run your task to test it, you can right click and select ‘Run’


This process will work for scripts that don’t require authentication locally or to an external resource like Office 365. I will cover how to include authentication in a later post.
[…] How to schedule a PowerShell script […]
Comments are closed.